
UnityEQ VAT Lab
Quick Start
1. Project requirements
Section titled “1. Project requirements”- Unity 2022.3 LTS or newer
- URP 14+ installed and assigned (one-shot helper provided)
- Optional:
com.unity.formats.alembicif you want to bake Alembic exports com.unity.visualeffectgraphfor VFX Graph Sprite VAT capture
2. Install the URP pipeline asset
Section titled “2. Install the URP pipeline asset”The first time you open the project:
Tools → EQLabs → EQ VAT Lab → Setup → Create + Assign URP Pipeline AssetThis creates a UniversalRenderPipelineAsset at Assets/EQLabs/EQVAT_Output/Pipeline/EQVATLab_URPAsset.asset, assigns it to Edit -> Project Settings -> Graphics -> Scriptable Render Pipeline Settings, and sets it on every QualitySettings quality level. (Skip this if your project already has URP set up; the helper is non-destructive but redundant.)
3. Bake your first VAT
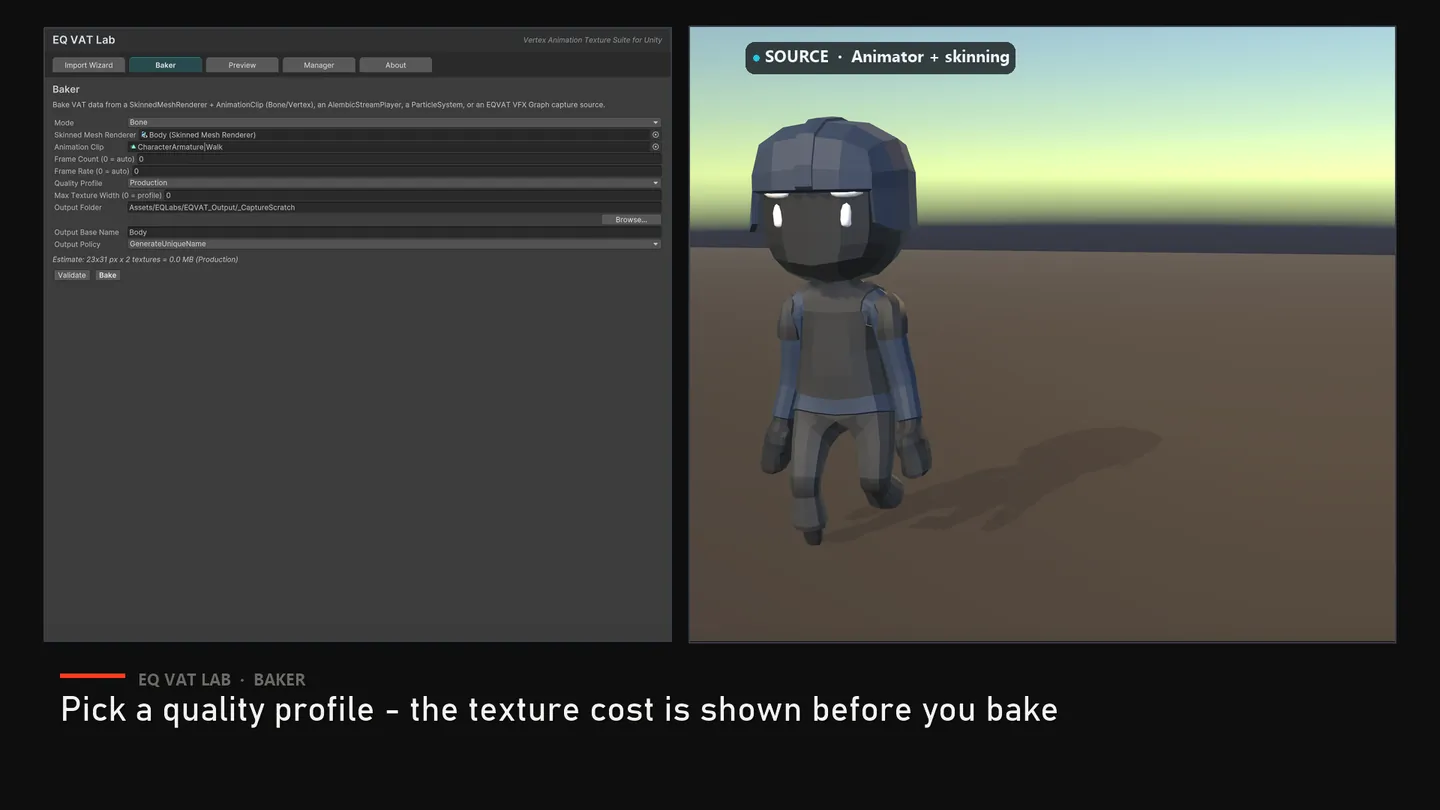
Section titled “3. Bake your first VAT”Tools → EQLabs → EQ VAT Lab → Open EditorSwitch to the Baker tab. Pick a mode:
| Mode | Source | Best for |
|---|---|---|
| Bone | SkinnedMeshRenderer + AnimationClip | Crowd characters; small textures (one column per bone) |
| Vertex | SkinnedMeshRenderer + AnimationClip | Heavy non-LBS deformation (cloth, muscle ripple) |
| Alembic | GameObject with AlembicStreamPlayer | Houdini / Marvelous Designer cache playback |
| Sprite | ParticleSystem (Shuriken) | Smoke / debris / FX with stable particle identity |
| VFX Graph Sprite | EQVATVFXGraphCaptureSource | VFX Graph particles exposed through EQVAT output-event capture |
Drag in the source asset, set output folder + base name, click Bake. The default output folder is Assets/EQLabs/EQVAT_Output/, outside the package source. The progress bar walks you through sample -> encode -> save.
4. Place the result
Section titled “4. Place the result”After a successful bake, the <base>_VATMeta.asset is selected in the Project view. Its Inspector shows everything that was created:
- Output mesh —
SK_<base>_VAT.asset(Bone / Vertex) orSM_<base>_VAT.asset(Alembic / Sprite / VFX Graph Sprite) - Textures —
<base>_BonePos,<base>_BoneRot, etc. - Materials — one
MI_<orig>_VAT.matper submesh
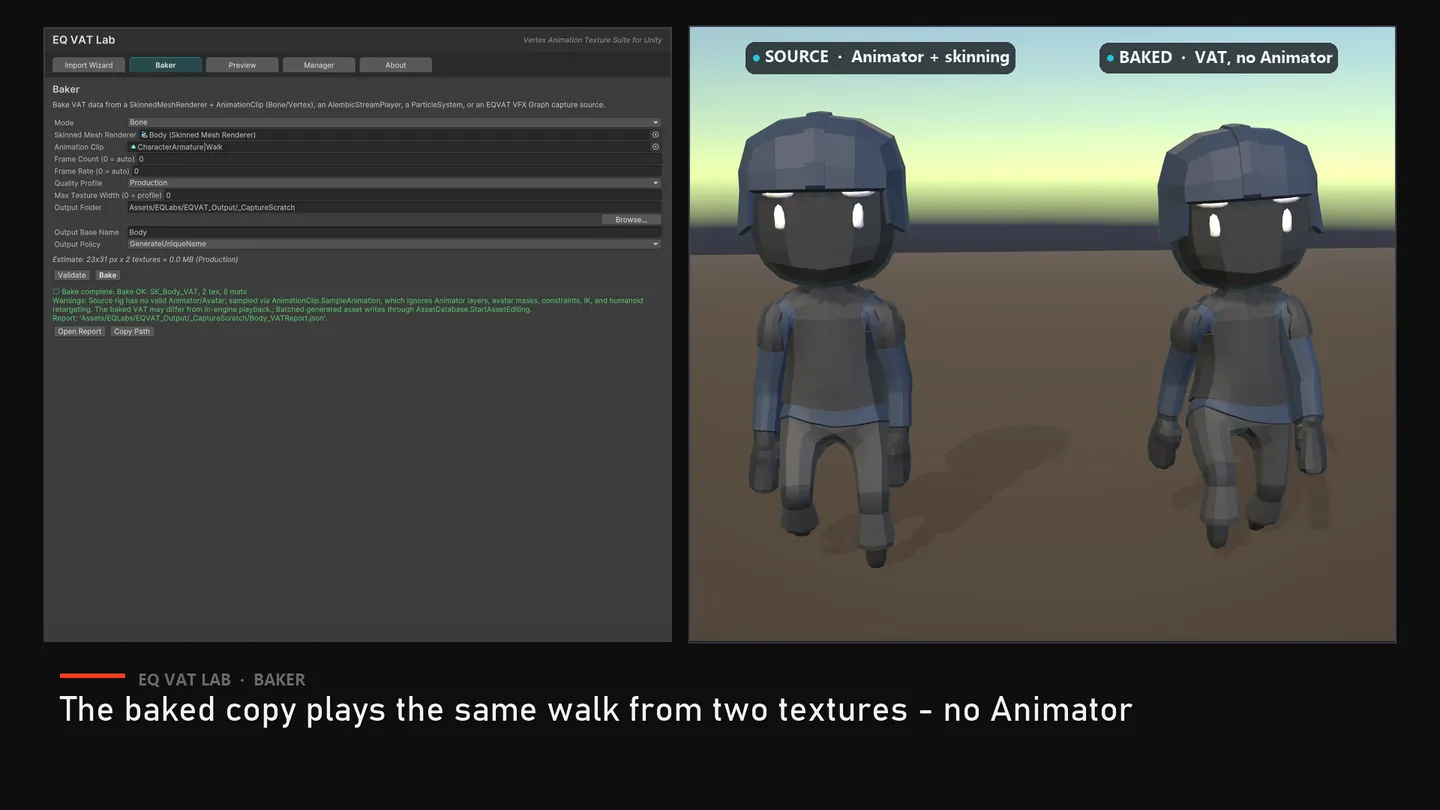
Drop the mesh into a scene with a MeshFilter + MeshRenderer, assign the materials, and enable Animated Materials in the Scene view’s Effects toolbar. The VAT mesh animates without an Animator, on the GPU.
5. Optional: attach a child to a baked socket
Section titled “5. Optional: attach a child to a baked socket”If your source rig had child Transforms named *_Socket / *_Sock, the Bone baker captured their per-frame transforms into <base>_VATSockets.asset.
To attach a weapon / FX / collider to a socket:
- Add a child GameObject under the baked VAT renderer
- Add Component → EQ VAT Lab → EQ VAT Socket Tracker
- Set
Data= the<base>_VATSockets.asset,Socket Name= the source socket name,VAT Renderer= the parent’s MeshRenderer - The child Transform now follows the GPU-skinned animation
Opens our feedback form in a new tab with the tool name pre-filled.